Crafting Wellness: Essential Items for DIY Salves at Home
Embark on the journey of crafting your healing salves by assembling the essential items. Gather beeswax, carrier oils such as coconut or olive oil, and herbs of your choice—whether it’s calming lavender, soothing calendula, or healing comfrey. Equip yourself with a double boiler, stirring utensils, and clean, airtight containers for storage. This array of items will set the stage for creating your personalized salves, offering a holistic approach to home wellness.

A Symphony of Healing: Mixing Your DIY Salves with Expertise
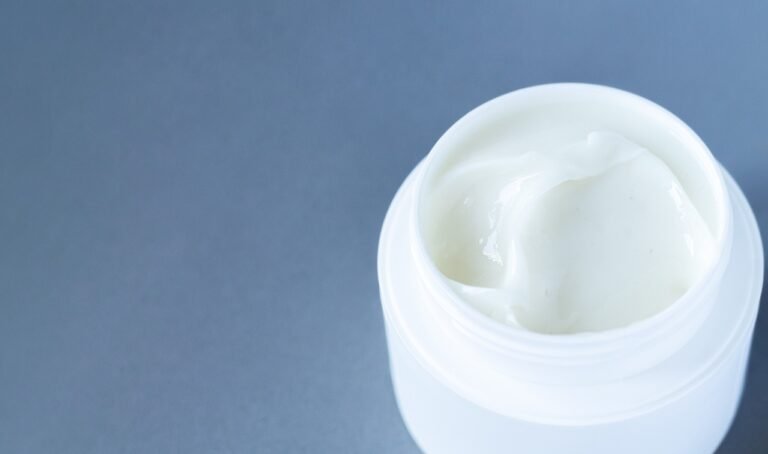
Delve into the art of mixing salves with our step-by-step guide, transforming raw ingredients into soothing balms. Begin by infusing your chosen herbs into carrier oils, allowing them to release their beneficial properties. Strain the infused oil and melt beeswax in a double boiler, adjusting the ratio based on your desired salve consistency. Combine the infused oil with melted beeswax, stirring thoroughly, and pour the mixture into clean containers. Witness the alchemical transformation as your homemade salve solidifies, ready to offer nature’s healing touch to your skin.

Nourishment for the Skin: Directions for Using Your Homemade Salves
Unlock the full potential of your DIY salves with proper directions for use. Apply a small amount to the affected area, gently massaging the salve into the skin. For topical issues like dryness, cuts, or bruises, use the salve as needed throughout the day. Allow the natural ingredients to nourish and soothe, promoting skin health. With these easy-to-follow instructions, you can seamlessly incorporate your homemade salves into your daily self-care routine, embracing the therapeutic benefits of nature in the comfort of your own home.
